Chrome is adding a new Recorder tab to the DevTools, letting users record and replay user journeys.
This feature will be included in Chrome 97, due for stable release on January 4 2022. Use Chrome Canary to try this feature out now.
Creating a recording
- Navigate to the page where you want to start the recording (in this case I'm opening the GitHub homepage)
- Open the DevTools by right-clicking on the page and selecting Inspect
- Open the Recorder tab
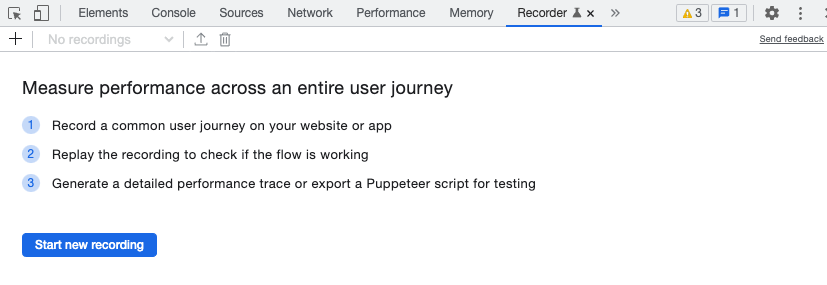
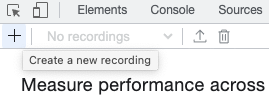
- Click the Create a new recording button
- Enter a name for your user flow
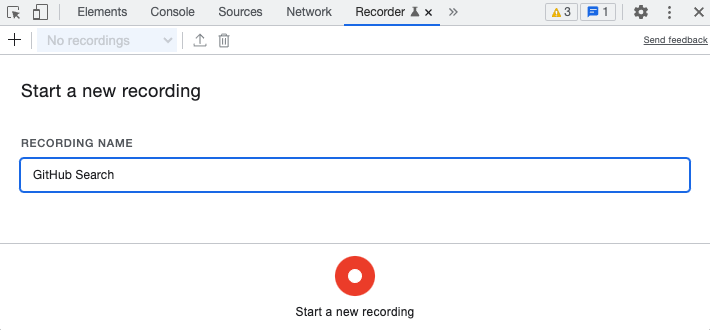
-
Click Start a new recording
-
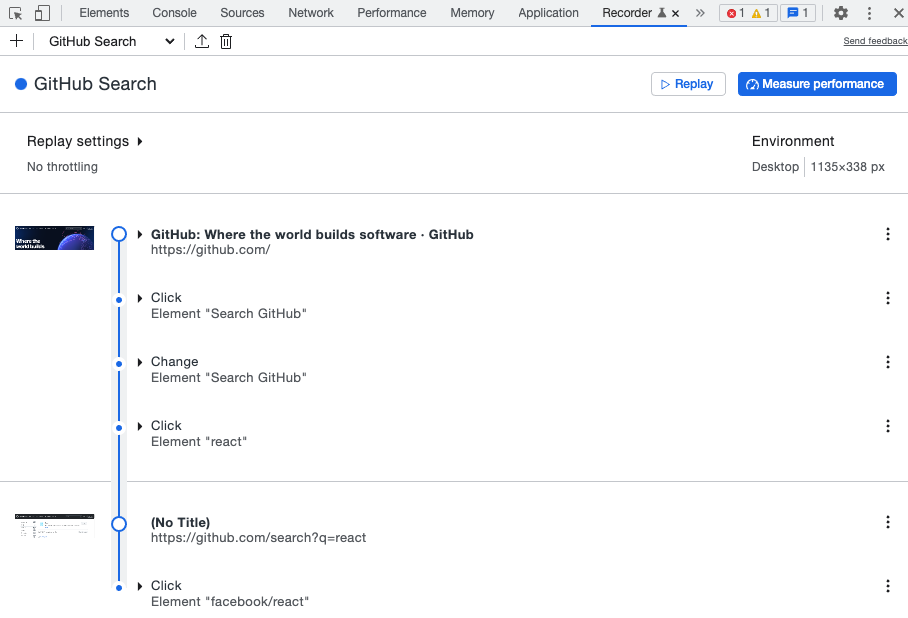
Go through the user journey on your page – I searched for "react" on GitHub, clicked the "search" button, and then selected the first search result
-
Click End recording

- The recording is now complete
Replay and Measure Performance
The Replay button simply performs the recorded steps. This lets you check your recording is working correctly.
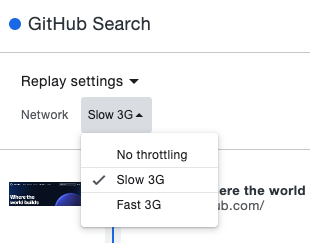
The Replay Settings let you control the emulated network speed – reducing the network speed to a slower connection is helpful when testing performance and capped speed in more consistent measurements.
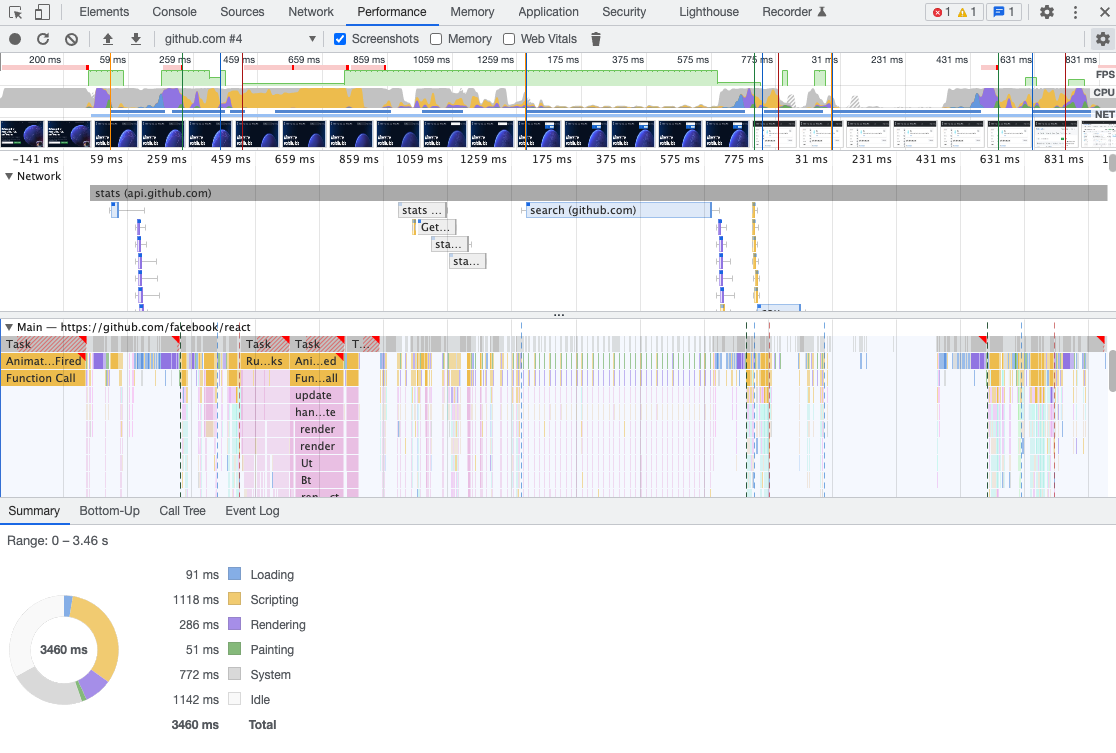
Measure Performance captures a DevTools Performance profile while going through the user flow. This can help you understand which parts of the process are slowing the user down.
There's lots of information here. Hovering over the filmstrip screenshots can give you an idea of what's going on at any given point. The CPU utilization timeline at the top of the page can point out potential JavaScript bottlenecks.
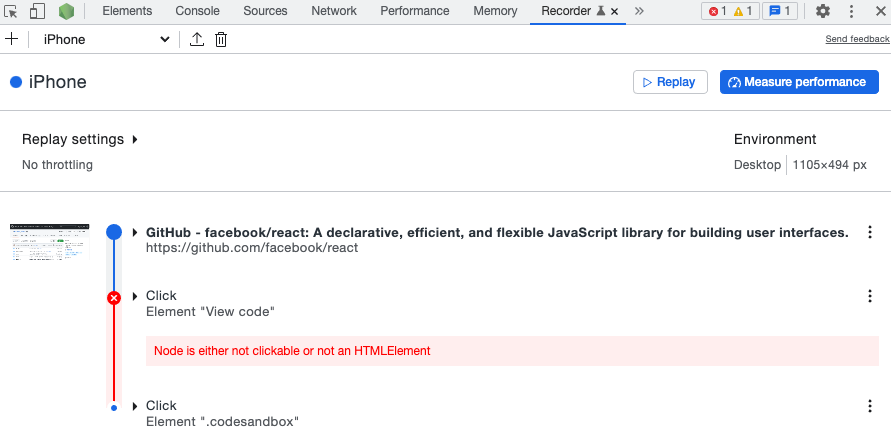
Replay failures
If a replay isn't successful, for example because a DOM element wasn't found, the step where the replay failed is highlighted in the user flow.
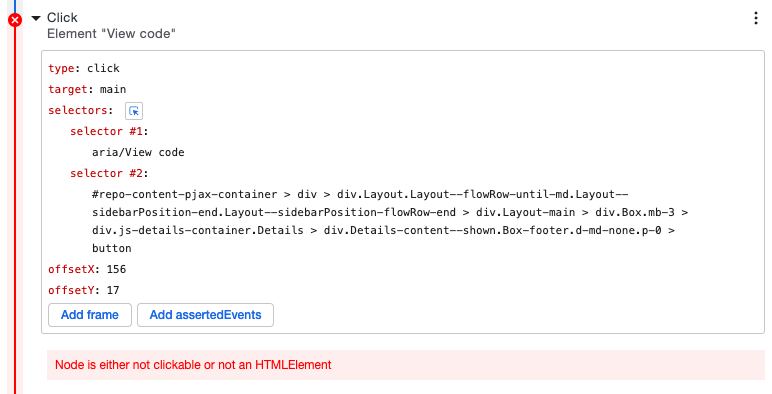
You can edit individual steps, for example picking a more reliable element selector.
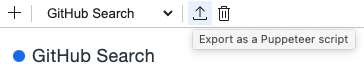
Exporting and running a Puppeteer script
DevTools can export your user journey as a Puppeteer script. Puppeteer is a Node library that lets you control a browser through code.
To run the exported script you need to
- Install Node.js
- Open a terminal window and navigate to the folder that you exported your script to
- Install the Puppeteer library by running
npm install puppeteer - Run the script with
node github-search.js(or whatever name you used)
If you open the exported script you'll see this code near the top of the file:
const browser = await puppeteer.launch();
const page = await browser.newPage();
It launches a new Chrome instance and opens a new tab. By default Puppeteer uses a headless browser with no user-visible interface. This makes it difficult to see what the script does, so disable headless mode like this to test the script:
const browser = await puppeteer.launch({ headless: false });
const page = await browser.newPage();
When running the script now you'll see a Chrome window open and navigate through your user flow.
What does the Puppeteer script actually look like?
At the top of the exported file you'll see a bunch of helper functions like waitForSelectors, waitForElement, querySelectorsAll, and waitForFunction.
Then come the more interesting bits:
{
  const targetPage = page;
  await targetPage.setViewport({ width: 1135, height: 338 });
}
{
  const targetPage = page;
  const promises = [];
  promises.push(targetPage.waitForNavigation());
  await targetPage.goto("https://github.com/");
  await Promise.all(promises);
}
{
  const targetPage = page;
  const element = await waitForSelectors(
    [
      ["aria/Search GitHub"],
      [
        "body > div.position-relative.js-header-wrapper > header > div > div.HeaderMenu.HeaderMenu--logged-out.position-fixed.top-0.right-0.bottom-0.height-fit.position-lg-relative.d-lg-flex.flex-justify-between.flex-items-center.flex-auto > div.d-lg-flex.flex-items-center.px-3.px-lg-0.text-center.text-lg-left > div.d-lg-flex.min-width-0.mb-3.mb-lg-0 > div > div > form > label > input.form-control.input-sm.header-search-input.jump-to-field.js-jump-to-field.js-site-search-focus.js-navigation-enable.jump-to-field-active.jump-to-dropdown-visible",
      ],
    ],
    targetPage
  );
  await element.click({ offset: { x: 74.5, y: 24 } });
}
{
  const targetPage = page;
  const element = await waitForSelectors(
    [
      ["aria/Search GitHub"],
      [
        "body > div.position-relative.js-header-wrapper > header > div > div.HeaderMenu.HeaderMenu--logged-out.position-fixed.top-0.right-0.bottom-0.height-fit.position-lg-relative.d-lg-flex.flex-justify-between.flex-items-center.flex-auto > div.d-lg-flex.flex-items-center.px-3.px-lg-0.text-center.text-lg-left > div.d-lg-flex.min-width-0.mb-3.mb-lg-0 > div > div > form > label > input.form-control.input-sm.header-search-input.jump-to-field.js-jump-to-field.js-site-search-focus.js-navigation-enable.jump-to-field-active.jump-to-dropdown-visible",
      ],
    ],
    targetPage
  );
  const type = await element.evaluate((el) => el.type);
  if (
    [
      "textarea",
      "select-one",
      "text",
      "url",
      "tel",
      "search",
      "password",
      "number",
      "email",
    ].includes(type)
  ) {
    await element.type("react");
  } else {
    await element.focus();
    await element.evaluate((el, value) => {
      el.value = value;
      el.dispatchEvent(new Event("input", { bubbles: true }));
      el.dispatchEvent(new Event("change", { bubbles: true }));
    }, "react");
  }
}
What can we see here?
- Each step is wrapped in curly braces, separating the steps and creating a separate scope for variables
waitForSelectorsis called with multiple selectors, so if one selector doesn't work (e.g. due to a new deployment causing DOM changes) there are others to fall back to, making the script less likely to break and easier to debug when it doeswaitForSelectorsuses Puppeteer's custom query handlers, so the script looks for an element matchingaria/Search GitHubrather than CSS selector- There's some code to handle setting the value on non-standard (?) elements – not quite sure what this is for
You can see the generated Puppeteer script here.