How to view web performance data in Cursor
You can connect Cursor to your DebugBear account using the DebugBear MCP server. Once connected, Cursor's agent can run page speed tests, query real user metrics, and manage projects directly from a chat in your editor.
How to add the DebugBear MCP server
To use DebugBear in Cursor you first need to add a custom MCP server pointing at https://www.debugbear.com/mcp.
- Open Cursor settings using the gear icon in the bottom left of the screen.
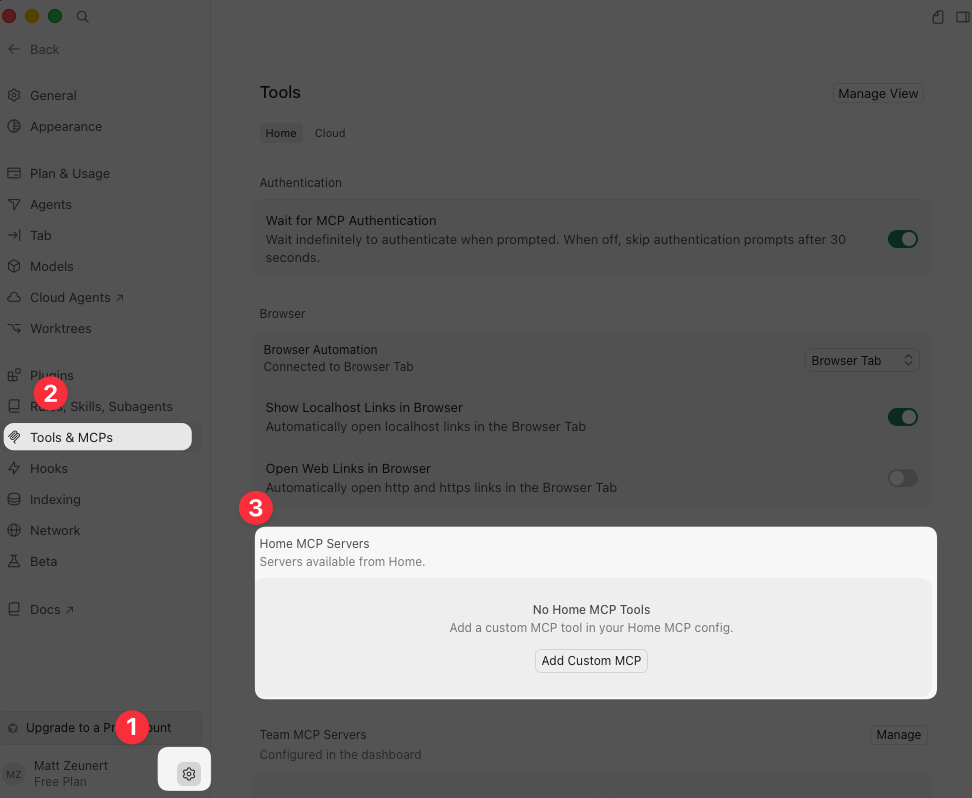
- Select Tools & MCPs in the sidebar.
- Under Home MCP Servers, click Add Custom MCP.
Add an entry for DebugBear with the URL https://www.debugbear.com/mcp. The entry in the mcp.json file should look like this:
{
  "mcpServers": {
    "debugbear": {
      "url": "https://www.debugbear.com/mcp"
    }
  }
}
Authenticate with DebugBear
Open a Cursor chat and ask a question that needs DebugBear data, for example:
What projects do I have available in DebugBear?
The first time you use a DebugBear MCP tool Cursor will show a Connect with DebugBear card in the chat. Click Authenticate to start the OAuth flow.
A browser window opens with the DebugBear approval page. Sign in if you aren't already, pick the DebugBear account you want to expose, and click Approve. Cursor receives an OAuth token tied to that account.

Use Cursor with DebugBear
Once authenticated, Cursor can call DebugBear tools whenever a conversation calls for them. The agent will pick the right tool based on what you ask.
For example, asking the question above produces a list of projects and their monitored pages:
